Wooden LCD clock make
The obligatory re-housing LCD clock project!

Something a bit different for this blog post. No programming/electronics/hack blog would be complete without the obligatory (and I have to say, much maligned) taking-apart-an-LCD-clock-and-putting-it-into-a-pretty-box project! So here's mine!
I've had an old LCD clock sitting obediently on my project desk for a while now, diligently telling me how late it is and how I should really go to bed soon.
Curiosity got the better of me one afternoon and I took a small screwdriver to the whole thing and ended up with its guts on the desk in front of me. The LCD screen itself is composed of a glass plate, embedded with the liquid crystal, various polarised filters, and a backing plane of a reflective foil. Scrapping off the backing foil reveals a beautiful object - a piece of glass with lettering floating ethereally.
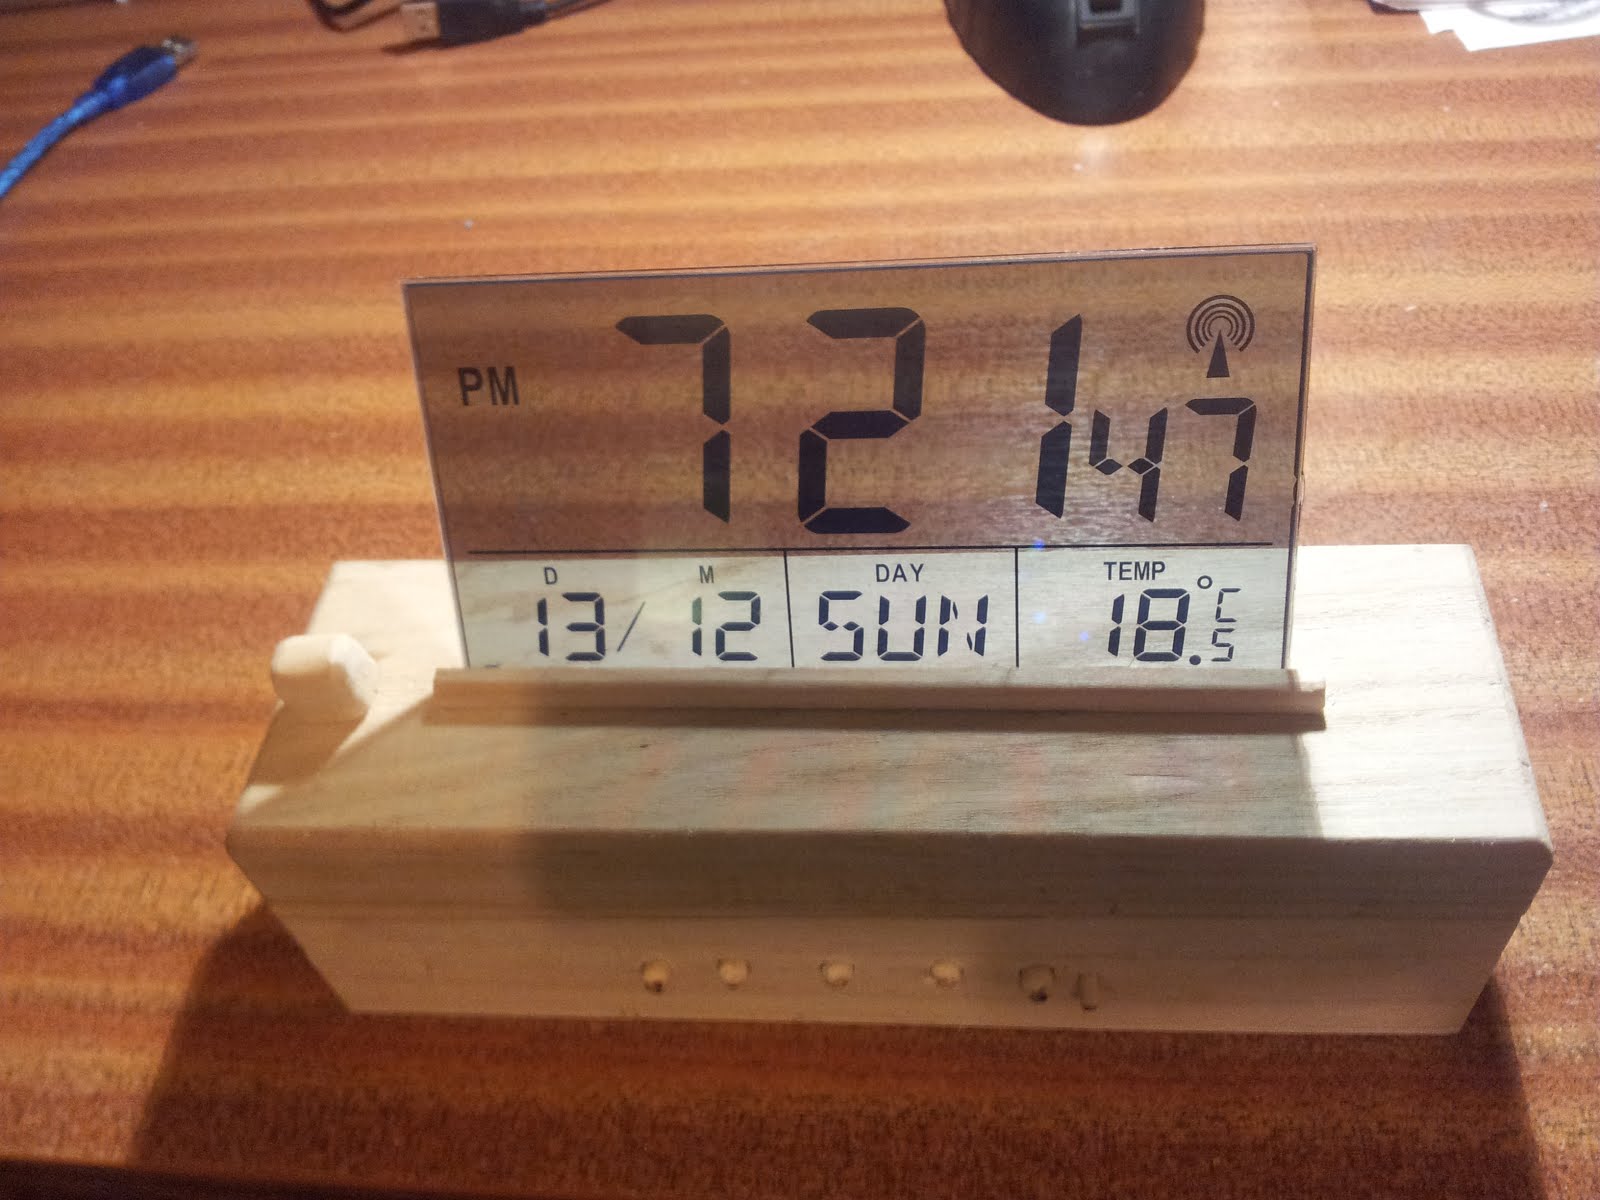
This clock wasn't going back together in its original form, so my hand was pleasantly forced to assemble a new (and improved) packaging. I decided a wooden box, complete with wooden buttons and switches, combined with the LCD screen would give a technology-meets-old look that would be pretty cool.

The clock has a built-in RF receiver for synchronising the time automatically. The orignal plastic buttons were removed and rounded wooden dowels were interfaced in their place. The buttons have a great 'clunk-click' action to them and are really satisfying to press! A slide switch for setting the alarm on/off was removed and replaced with a double throw switch, to which I attached a smoothed wooden knob. Similarly there is great tactile pleasure to be found in click this piece of wood back and forth! I used the shaping pieces of my rotary tool (from Maplins) which was pretty fun to carve into the soft wood with. Finally a slot was cut into the top of the wooden box for the LCD screen to sit and a coin button battery holder was wired in to supply the 3 volts required, previously supplied by 2 AAA batteries.


I think the finished product makes a rather handsome addition to my work bench!


I think the finished product makes a rather handsome addition to my work bench!


Comments
Post a Comment