Posts

Showing posts from 2018

Over The Air Firmware updates

Image
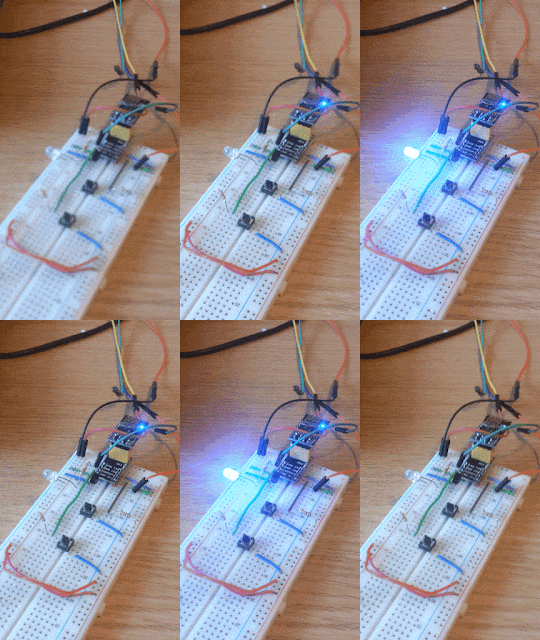
Updating ESP8266 firmware over WiFi is the coolest thing *ever*.  I recently got it working on an ESP-01S board, and it was a breeze.  There is 1M of flash memory on my ESP-01S, and that might be important.  We need at least twice the sketch size space in order for the code to work.  There is something very satisfying about sending a program off over the home WiFi to an ESP8266 board stashed in another room!

The IR-egg: Voice-controlled ESP8266 I2S IR transmission!

Image
I recently posted on ESP8266: Minimum I2S code required for use I2S to accurately control output to a GPIO pin.  I also previously used a UART hack to use serial output to control an IR led .  This approach was a bit hacky though, requiring a few transmissions of the UART IR signal to get proper reception.  I thought that using the I2S protocol would be a really simple way of implementing an accurate IR signal transmission, modulated at 38 kHz.

ESP8266: Minimum I2S code

Image
Question: What's the most convoluted way to flash an LED on an ESP8266? Answer : Using DMA (Direct Memory Access) and to output to a GPIO using the I2S protocol of course! Outputting memory straight to an LED using I2S 

Adding LCD character display to Attiny85 project

Image
LCD character displays are a pretty useful addition to a project for providing a simple test output.  However if we use them in 4-bit or 8-bit parallel-mode they can be pretty greedy on pins, not to mention the software overhead with custom libraries.  I've been programming Attiny85 chips recently, where pins are certainly very much at a premium.  I wanted to add an 4-line LCD character output to the project, and luckily there are version of LCD displays that use serial inputs (I2C/UART/SPI) to control the input, meaning that if we use UART we only have to use a single pin to control output - excellent!

Sending IR remote control signals

Image
In my previous post , we looked at how to grab an 38 kHz modulated IR signal, analyse and process it. Now we'll look at a couple of different ways to transmit a modulated IR signal - first with an Arduino Nano, and then with an ESP-01S board. UPDATE: I have now used I2S to accurately transmit a modulated IR signal with the ESP8266 chip

Decoding 38 kHz IR signals with an Arduino Nano

Image
So... I have ambitions to use an ESP8266 board to control an IR LED and switch things on and off according to Alex voice control.  I have discussed how to implement Alexa voice control on an ESP-01S board here .  In this blog post I'll discuss how to grab, analyse and process an IR signal, ready to be re-transmitted.  In this case, I am using an TSOP4838 IR receiver, which takes an IR signal modulated at 38 kHz and demodulates to the corresponding 1s and 0s.  What is signal demodulation? This explains signal modulation excellently (stolen from SB-projects ):

Hey Alexa, switch on Project

Image
Setting up Arduino IDE for ESP8266, ESP-01S and FauxMo. Hey Alexa, are you listening? I've been interested in playing around with some ESP8266 modules for ages.  In case you have been living under a rock for the last few years, the ESP8266 has taken the hobby-world by storm as the way of getting WiFi easily into a project.  In fact you need to catch up, because the ESP32 has come hot on the ESP8266 heels.  Sometimes choice can be a curse, and it seems that way to me with the ESP8266 board - there are a veritable plethora of boards available. So where to start from?  I like to keep my form factor small and keeps things as simple as possible, so decided to opt for the ESP-01S board, which is albeit limited in terms of GPIO pins (only two), but is really the barebones of an ESP8266 board - small with no other voltage regulators, so we are in control.  In retrospect, I think I would now have gone for a Wemos Mini-D1 as you get so much more in terms USB hookup and voltage regulat